
When we moved into our house over four years ago the kitchen countertops were in pretty good shape. While they looked nice, they were actually floor tiles. This was nice for aesthetics and clean up, however eventually water and moisture got under the tiles and they started cracking and popping off of the counter. So we decided to upgrade the counters and went off to Home Depot for some estimates. Those estimates came back WAY out of our comfort range of spending so we went back to the drawing board.
You see, we have 100 square feet of counter space. It's awesome having that much space...until you need to replace it all. We popped off all of the tile from one section of the counter to find that there was a blue counter underneath. So we though, eh, we can live with that until we figure something out. However, once we got the tile off we realized much of the counter was scratched and marked up on some areas. So we thought, no problem, we'll paint it. We had used Rust-Oleum Countertop Paint at the old house before we rented it and it held up well. However that plan was also foiled when we removed more tile to find that some of the coutertops didn't reach the entire length of the counter area and some of it had rotted out from water damage.
THEN, I came across this PInterest project and combined it with this PInterest project. And now we have a huge work in progress. So this is my documentation of our progress as we go along. So here we go!
This is a before shot of our kitchen from when we replaced the floors a couple of years ago. You can see all the tile that is on the counters along with all the mini-tile pieces along all of the edges and along the backsplash over the sink. All of it has to go.

Here is an up close shot of the tiles:

We started with the island section since it's used the most and was the smallest area to experiment with. This is what was under the tile. Again, not bad, but what you don't see is the deep scratches:


So off it came:
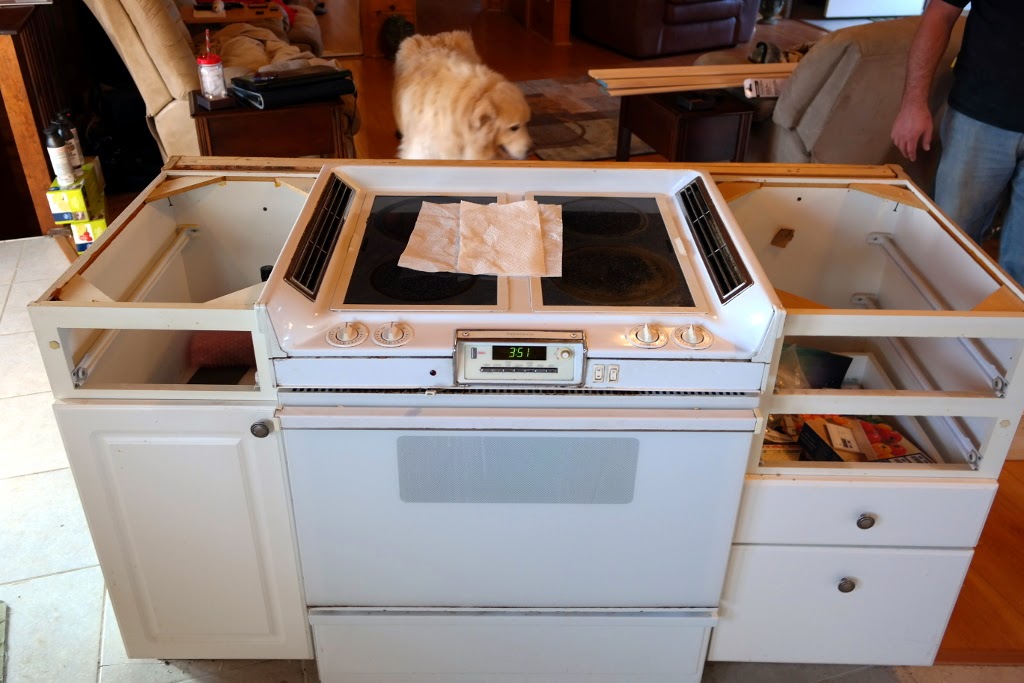
We decided we didn't use the bar stool area of the island enough so we deleted that part out of the new design. Jason is going to add in a fold down bar on the back of the island once we complete the counters so we still have it when needed. So we measured and cut and ended up with our new island base:


Once we had the boards cut and placed correctly, we glued them together using construction grade adhesive. We then set concrete blocks on top to keep pressure on the boards and clamped the boards together until the adhesive dried.
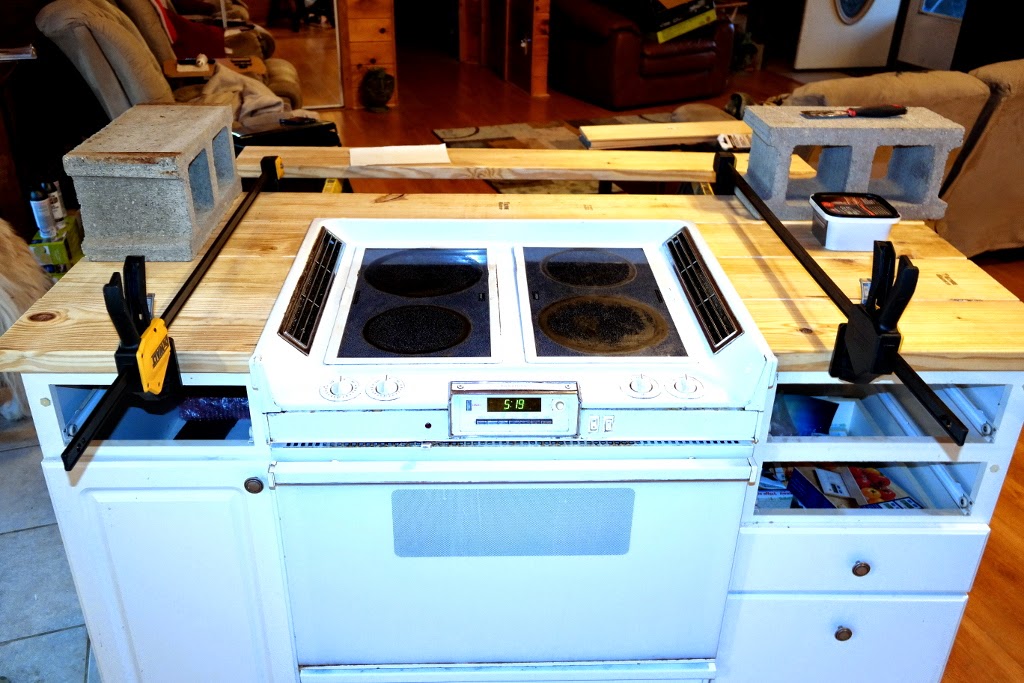
While that was drying, we started removing the counter tiles from the left side of the U shape counter area:

This is where we found that the counter frame is not even with the wall behind the counter. So we're still working out the best way to do this piece, but may put a small lip on the back of the counter, which will help keep things from rolling off. And may eventually put a tiered shelf over it. But for now, it was more measuring and cutting:


At this point we were pretty exhausted and needed a part for the skill saw before we could continue, so Jason went back to the island section where the adhesive was now dry and began filling the cracks with wood putty so it would be dry by morning to begin sanding.

Materials & Costs | Part 2 | Part 3 | Part 4


